ADVERTISEMENT

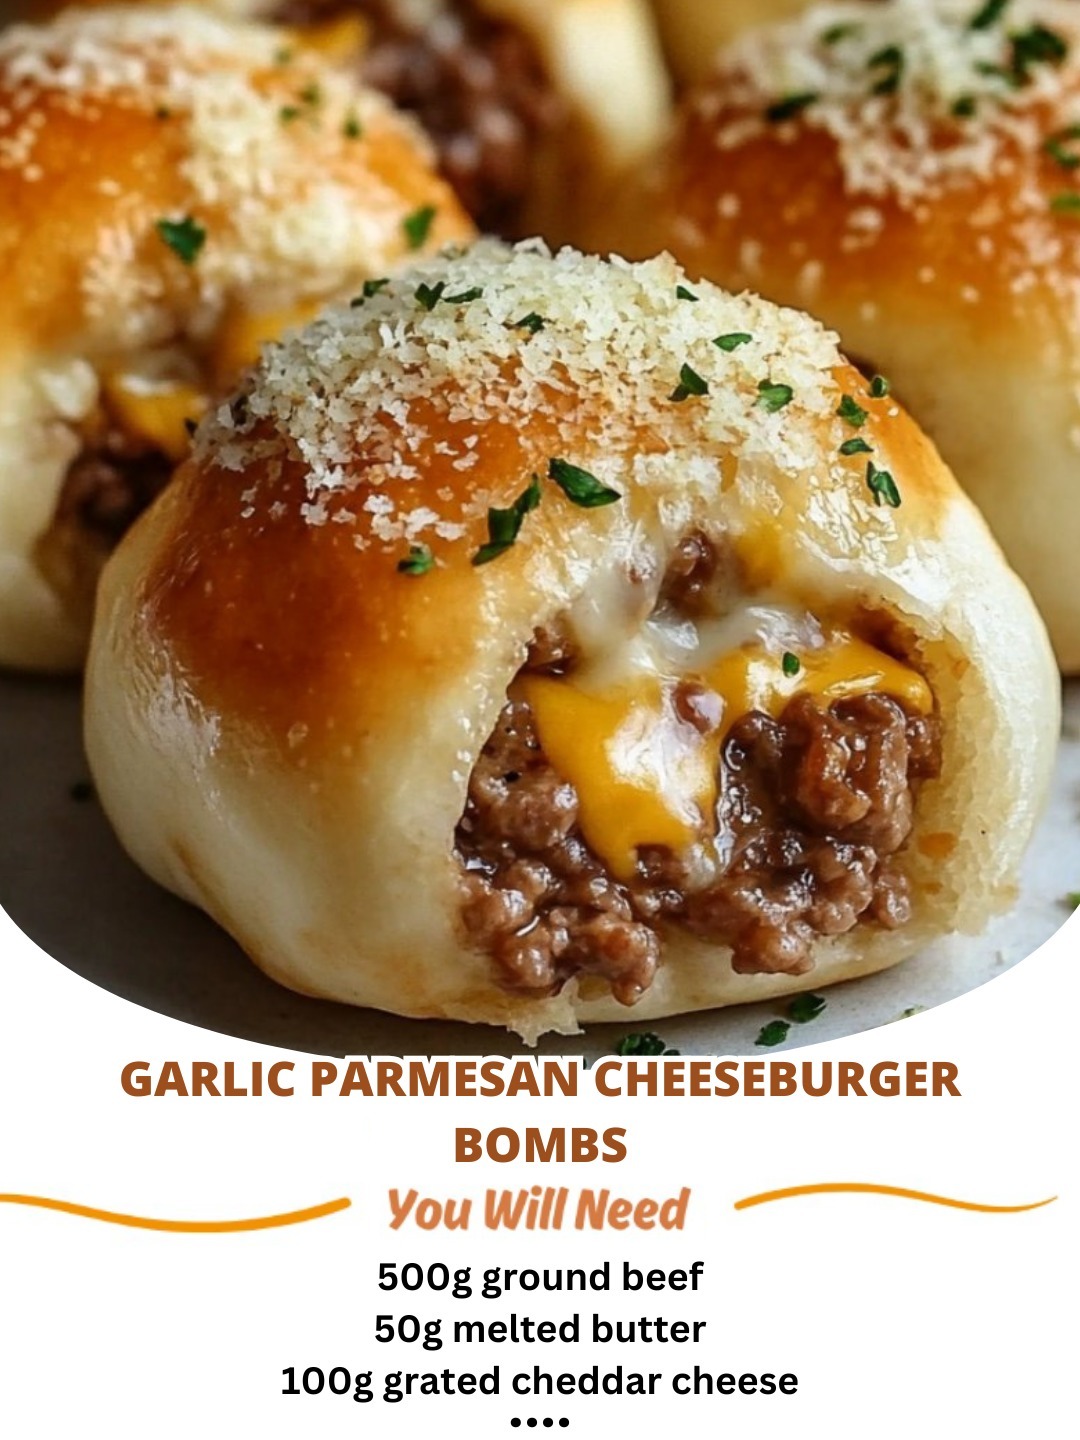
Garlic Parmesan Cheeseburger Bombs
For Complete Cooking STEPS Please Head On Over To Next Page Or Open button (>) and don’t forget to SHARE with your Facebook friends
Step 4: Coat the Bombs
- In a shallow bowl, combine the breadcrumbs, 1/4 cup grated Parmesan cheese, garlic powder, and dried parsley.
- Roll each meatball in the breadcrumb mixture, pressing gently to ensure the coating adheres evenly.
Step 5: Bake the Bombs
- Place the coated bombs on the prepared baking sheet, spacing them evenly apart.
- Bake in the preheated oven for 15–20 minutes , or until the bombs are golden brown and cooked through. The internal temperature should reach 160°F (71°C) when measured with a meat thermometer.
Step 6: Serve and Enjoy
Why This Recipe Works So Well
The magic of Garlic Parmesan Cheeseburger Bombs lies in their balance of textures and flavors. The juicy ground beef provides a hearty base, while the melty cheese center adds a rich, gooey surprise. The garlic-parmesan coating ties everything together with its savory, crunchy finish, creating a dish that’s as satisfying as it is indulgent.
Variations to Try
While the classic version is divine, here are some creative ways to switch things up:
- Add Bacon : Wrap each bomb in half a slice of bacon before baking for extra smokiness and crispiness.
- Spice It Up : Use pepper jack cheese or add red pepper flakes to the meat mixture for a fiery kick.
- Gluten-Free Option : Use gluten-free breadcrumbs to make this recipe suitable for dietary restrictions.
- Herb Infusion : Stir fresh parsley, basil, or thyme into the meat mixture for an aromatic touch.
- Mini Sliders : Serve the bombs in slider buns with lettuce, tomato, and your favorite toppings for a fun twist.
Tips for Success
- Seal the Cheese : Make sure the cheese is completely enclosed in the meat to prevent it from leaking during baking.
- Don’t Overmix : Overmixing can make the bombs dense—mix just until the ingredients come together.
- Check for Doneness : Use a meat thermometer to ensure the bombs reach an internal temperature of 160°F (71°C).
- Save Leftovers : Store leftover bombs in an airtight container in the refrigerator for up to 3 days. Reheat in the oven or microwave.
- Make Ahead : Assemble the bombs ahead of time and refrigerate for up to 24 hours before baking.
Serving Suggestions
These Garlic Parmesan Cheeseburger Bombs are incredibly versatile and pair well with a variety of sides and occasions. Here are some ideas to enhance your experience:
- Game-Day Snack : Arrange them on a platter with dipping sauces for a crowd-pleasing appetizer.
- Family Dinner : Serve alongside roasted potatoes, steamed vegetables, or a fresh salad for a complete meal.
- Party Favorite : Cut into smaller portions for bite-sized treats at gatherings or potlucks.
- Brunch Idea : Pair with scrambled eggs, hash browns, and fresh fruit for a savory brunch option.
- Kids’ Delight : Let kids dip the bombs in ketchup, barbecue sauce, or ranch for a fun meal.
Final Thoughts
With their juicy texture, cheesy center, and savory garlic-parmesan crust, Garlic Parmesan Cheeseburger Bombs are a dish worth making again and again. Whether you’re craving a quick snack, hosting a gathering, or looking for a unique appetizer, this recipe delivers big on taste and satisfaction.
So, the next time you’re in the mood for something indulgent, flavorful, and utterly delicious, give these cheeseburger bombs a try. Trust us—they’re quick, easy, and absolutely divine!
Have you tried this recipe yet? Share your thoughts, tips, and variations in the comments below. Happy cooking! 🧀🍔🧄✨
ADVERTISEMENT
